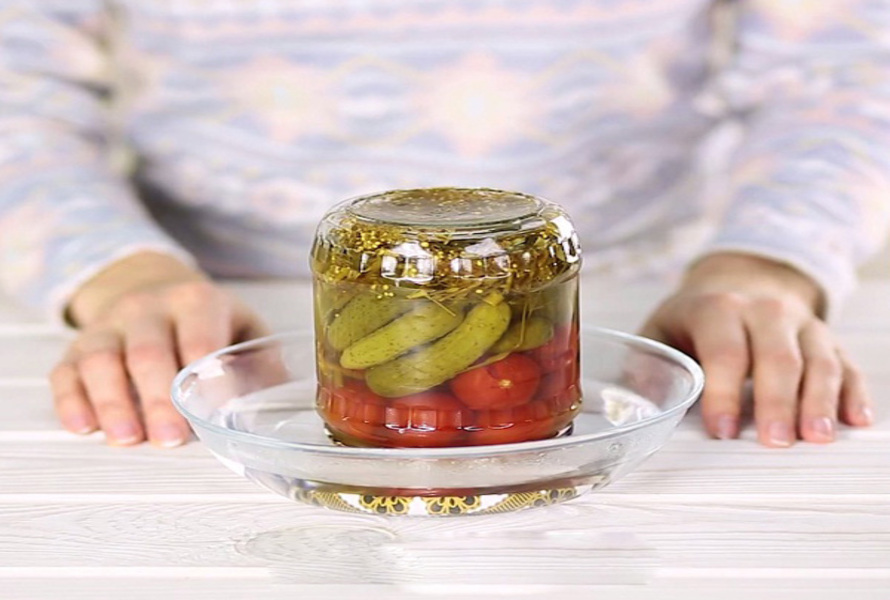
Have you ever struggled with a jar or container whose lid was so tightly sealed that no matter how hard you tried, it wouldn't budge? You twisted, pulled, maybe even asked someone else for help—yet the lid stayed stubbornly in place. This is a common situation, especially in kitchens. In this article, we’ll walk you through how to open a vacuum-sealed jar lid using quick and easy tips that require no fancy tools or excessive force.
1. Why Is the Jar Lid So Hard to Open?
1.1. Vacuum seal after heating or long-term storage
Many food jars—especially those containing jams, pickles, or sauces—are sealed while hot. As the temperature drops, the air inside contracts, creating a vacuum that tightly pulls the lid inward. This vacuum seal is one of the most common reasons why a jar becomes so difficult to open.
1.2. Pressure difference inside and outside the jar
The pressure inside the jar is often lower than outside, creating a suction effect that locks the lid in place. Without equal air pressure pushing back, opening the lid can become a real challenge.
1.3. Lid type and container material affect grip
Metal lids or deep-threaded plastic lids tend to grip more tightly, especially when refrigerated. Cold temperatures can cause lid materials to contract and seal even more firmly. In addition, wet or greasy hands make it harder to get a good grip on the lid.
2. How to Open a Vacuum-Sealed Jar Lid Easily at Home
2.1. Method 1: Use warm water
Warm water has the effect of expanding objects if you soak them for a long time. In particular, warm water will not affect the quality of the food inside. Besides, warm water will not affect the chemical structure of plastic materials, ensuring consumer health safety.
Use warm water
You can do this method in just 2 simple steps as follows:
- Step 1: You prepare enough warm water from 300 - 500ml to just cover the top of the plastic bottle. You can boil water in an electric kettle and let it warm for about 10 - 15 minutes before moving on to step 2.
- Step 2: You put the plastic box and its lid upside down in warm water. Next, you soak them for 3 - 5 minutes. This is the time when the lids of plastic containers will gradually expand and you should open them while they are still warm.
Note: You should not soak for too long because the plastic container lid may come off and water will spill in and affect the food.
2.2. Method 2: Use a hair dryer
Just like method 1, EuroPlas will continue to guide you on how to open a tightly stuck plastic box lid using the heat of the temperature. The time of method 2 will be faster than method 1.
Besides, the efficiency will also be similar and save a lot of your energy. In particular, this method does not affect the quality of the plastic box or the food inside. It also only includes 2 simple steps as follows:
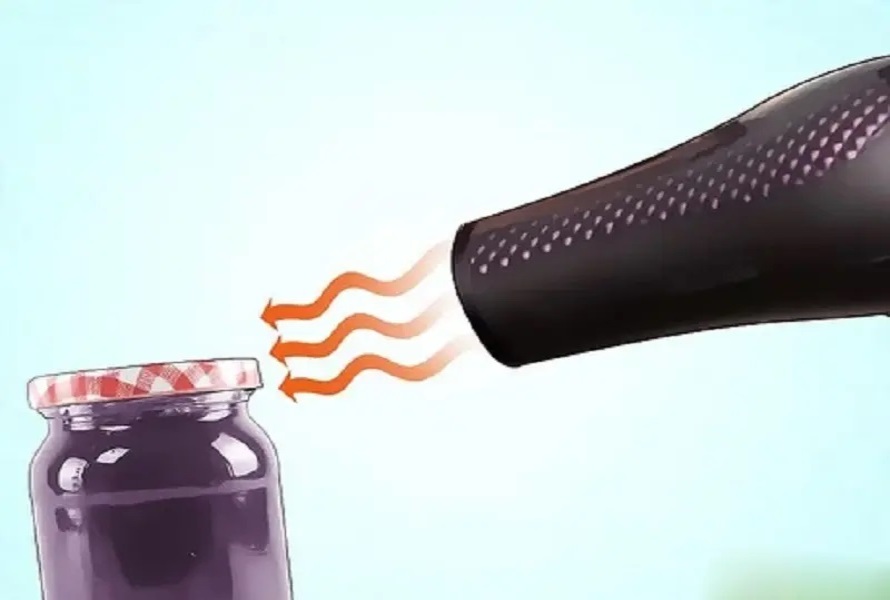
Use a hair dryer
- Step 1: Use the dryer at medium power for 1 - 2 minutes. After that, you can increase the heat level and do it for another 1 - 2 minutes. Note: you need to spread the heat evenly around the lid of the plastic box so that the tightly sucked lid slowly expands.
- Step 2: Wait for the plastic box lid to cool completely so you can open it easily.
2.3. Method 3: Use electrical tape or adhesive tape
Adhesive tape will help you easily remove the tight plastic box lid. You can use tape to increase the force and affect the tightness of the plastic box lid. This method also has 2 simple steps and only takes 1 - 2 minutes to perform.
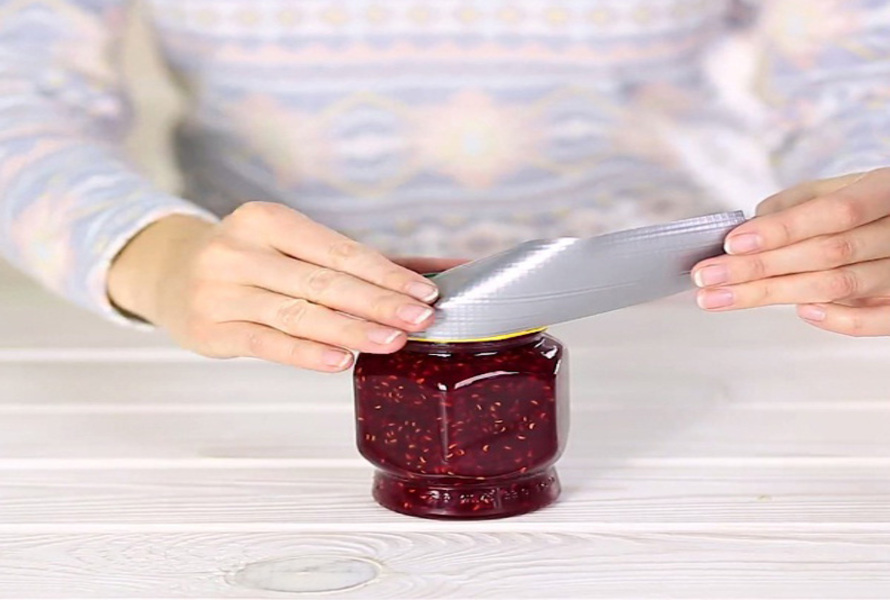
Use electrical tape or adhesive tape.
- Step 1: You need to prepare a piece of tape about 35 - 40 centimeters long. Next, use tape to wrap around about three-quarters of the bottle/jar lid. Stick the rest of the tape to the top of the lid, leaving about a little extra tape.
- Step 2: Hold the bottle/jar tightly with one hand, hold the tape in the other hand and rotate it slightly.
2.4. Method 4: Use force to tap the plastic box lid
This is one of the easiest methods to apply pressure to the tightly closed lid of a plastic container. The method is capable of breaking the pressure and vacuum layer between the mouth of the plastic box and the lid of the plastic box.
Use force to tap the plastic box lid
However, the method will take 5-7 minutes and will be quite tiring. Therefore, this is the method with the longest implementation time. In addition, this method only includes 2 simple steps as follows:
- Step 1: Prepare a stainless steel spoon or wooden spoon.
- Step 2: Tap evenly around the plastic box lid. Just knock until you hear a 'pop' sound and you can open it easily.
2.5. Method 5: Apply force to the bottom of the plastic box
This method is similar to method 4 and differs only in the implementation location. This method also causes the pressure to be pushed upward and gradually burst. Besides, the vacuum between the lid and the box cannot accumulate for too long. Therefore, the lid and plastic box will be separated.
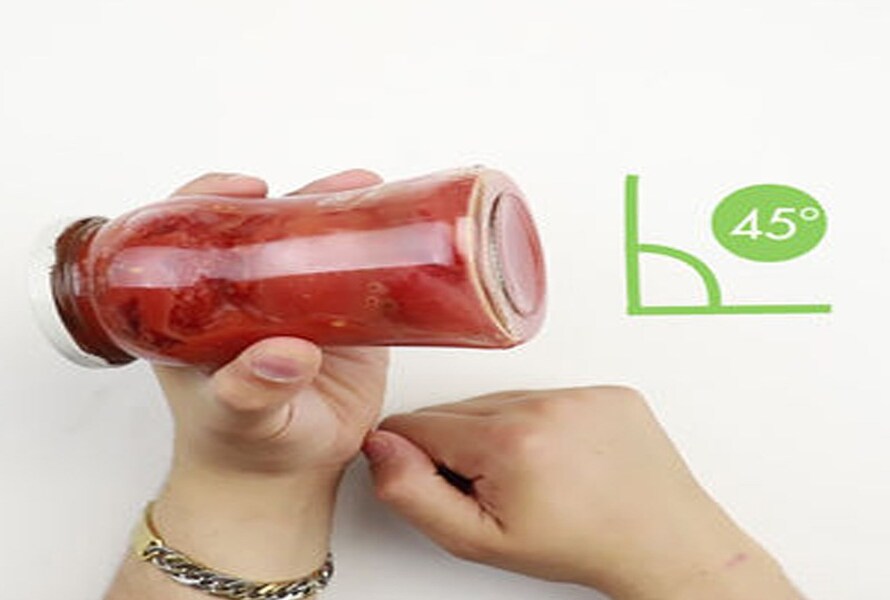
Force to the bottom of the plastic box.
- Step 1: Use your non-dominant hand to hold the plastic box and point the bottom up at a 45 degree angle.
- Step 2: Use a spoon or hard object to gently and evenly tap around the bottom of the plastic box.
Read more: What is plastic? Everything you need to know about plastic
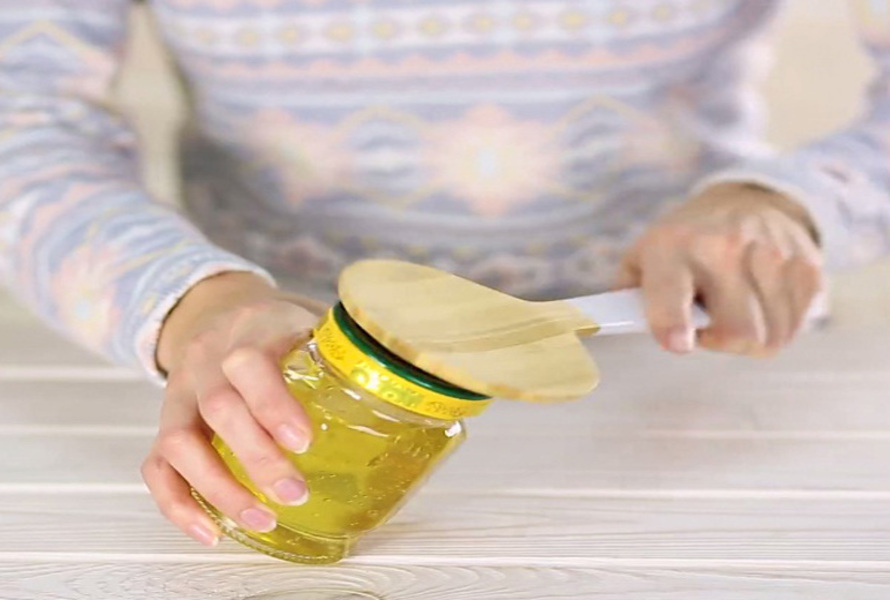
2.6. Method 6: Use a spoon and create leverage
EuroPlas will continue to guide you how to open the lid of a tightly sealed plastic box using a stainless steel spoon. This method requires skill and patience because if the plastic box is small in size, it will be difficult to succeed and may hurt your hand. The method includes 2 basic steps as follows:
Use a spoon and create leverage
- Step 1: Use your dominant hand and grasp the lid of the plastic box tightly. The thumb will stick out to form a contact point and create force for the lever made of a spoon.
- Step 2: Use your other hand to place the handle of the spoon on your thumb and the tip of the spoon will be placed under the lid of the plastic box. Use force and gently press the handle. Continue doing this action until you go around the entire lid of the box.
2.7. Method 7: Turn the plastic box upside down
This method will not waste too much energy, but it will affect your time. In particular, this is also the simplest method in all aspects and includes 1 super simple step. You just need to turn the plastic box upside down and wait 5 - 8 minutes for the vacuum layer, air as well as pressure inside the box to accumulate and break down.
3. Comparing Lid-Opening Methods
| Method |
Effectiveness |
Ease of Use |
Tools Needed |
Notes |
| Hot water |
Very high |
Easy |
Hot water |
Be careful of burns and thermal shock to glass |
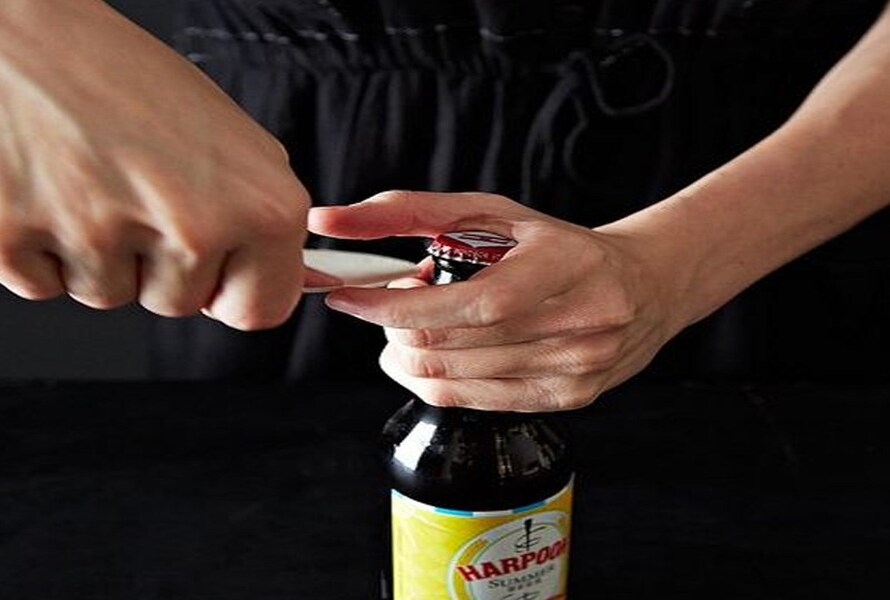
| Spoon or knife to vent |
High |
Easy |
Spoon or butter knife |
Use gently to avoid damaging lid or jar |
| Towel or rubber grip |
Medium |
Very easy |
Cloth, gloves |
Less effective if lid is tightly sealed |
| Tap the jar’s base |
Medium |
Easy |
None |
Avoid with fragile glass jars |
| Rubber band method |
Fairly high |
Easy |
Large rubber band |
Best for small, smooth lids |
| Lid-opening tools |
Very high |
Very easy |
Special purchase |
Worthwhile for frequent use |
4. Conclusion: Pick the Right Trick for an Easier Open
Struggling with a tightly sealed lid is a common household annoyance—but with the right approach, it doesn’t have to be. Whether you’re using hot water, releasing air with a spoon, or simply improving your grip, these simple methods can help you open lids safely and quickly.
And if it happens often, consider investing in a handy jar opener. It's a small addition to your kitchen but a huge relief when that stubborn jar just won’t budge.
EuroPlas has sent you the Top 7 most effective methods to open tightly sealed plastic box lids. To update more interesting news about plastic and related products, please refer to the EuroPlas Blog page!