In a world facing plastic pollution and climate change, the need for sustainable alternatives has never been greater. Among various biodegradable materials, bioplastics derived from starch—especially bioplastic made from potato starch—are emerging as a popular DIY solution. Why? Because it’s simple, affordable, and doable right in your kitchen.
This article will walk you through the essentials of making bioplastic from potato starch, suitable for beginners, students, or anyone interested in green alternatives.

1. What is Potato Starch Bioplastic?
Potato starch bioplastic is a type of biodegradable plastic made from the starch extracted from potatoes. Unlike conventional plastic derived from petroleum, it breaks down more easily in nature and can be made from renewable resources.
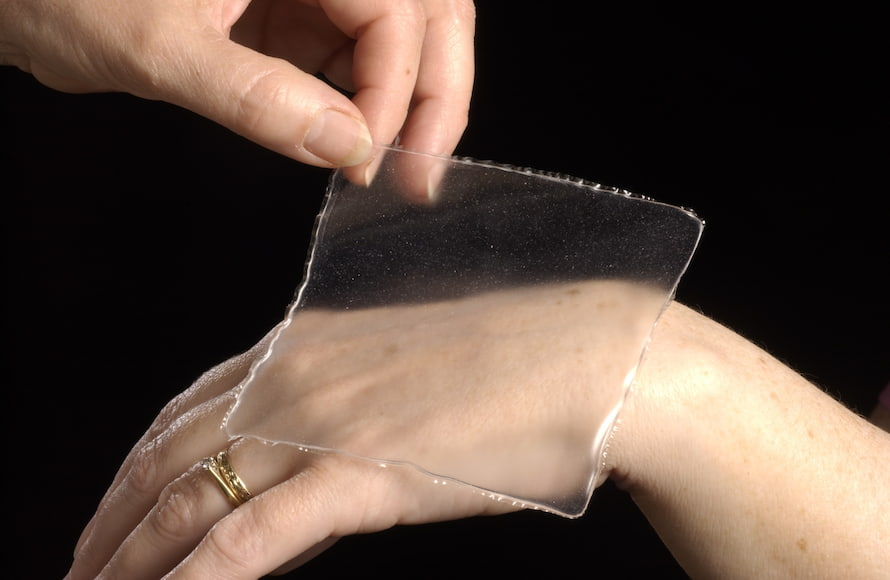
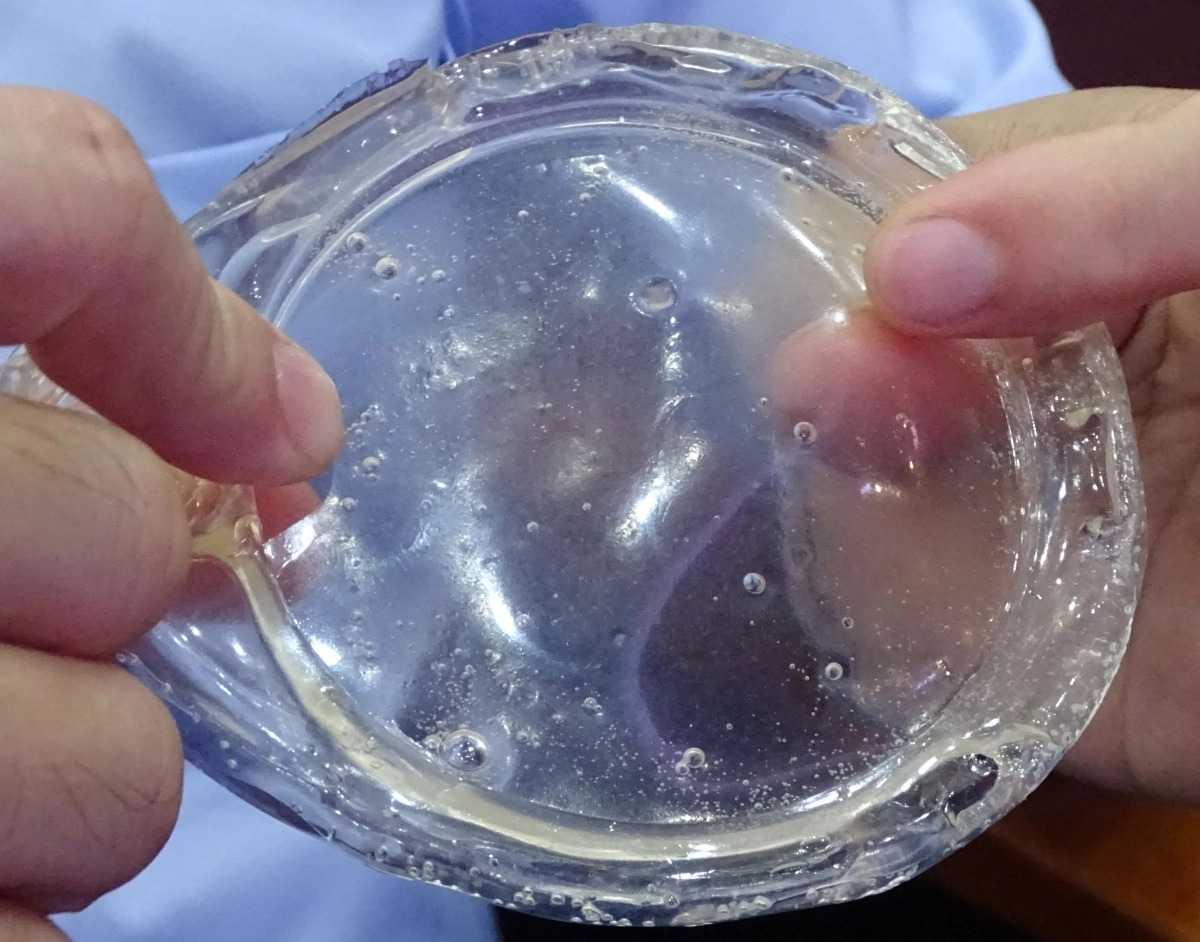
Potatoes contain a high level of starch—about 14% by weight—which can be extracted and processed into a gel-like substance. When mixed with other natural ingredients like water, glycerol (a plasticizer), and vinegar (a preservative), this mixture solidifies into a thin, flexible sheet or mold once dried.
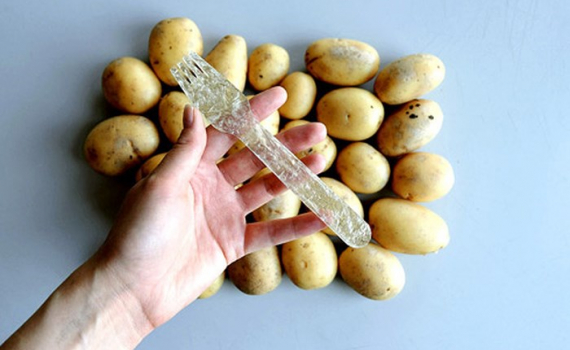
Why potatoes? Because they are inexpensive, widely available, and contain a high amount of usable starch—making them ideal for homemade experiments or small-scale sustainable production.

2. Why Try Making Bioplastic from Potato Starch?
Making bioplastic from potato starch is not just a fun science experiment—it’s a step toward environmental awareness and sustainable living.
2.1. Educational Value
If you’re a student or a teacher, this process is an excellent hands-on learning activity to understand:
-
The chemistry behind polymers and plastic formation
- Renewable vs. non-renewable resources
- The environmental impact of plastic waste
Many science fair projects and STEM curriculums have adopted this activity to promote green science.
2.2. Eco-Friendly Living
Plastic pollution is a global crisis. By making bioplastic from potato starch, you're:
-
Reducing reliance on fossil-based plastics
- Exploring biodegradable materials that leave less waste
- Understanding the lifecycle of a product from raw material to decomposition
Even though homemade bioplastic isn’t as strong or durable as industrial plastic, it’s a great alternative for low-impact, single-use purposes such as:
-
Wrapping
- Temporary containers
- Packaging filler
- Decorative craft projects
2.3. Cost-Effective and Accessible
Most of the ingredients are already available in your kitchen or can be bought cheaply:
-
Potato starch or fresh potatoes
- Water
- Glycerol
- Vinegar
- (Optional) Food coloring for decoration
This simplicity makes the process ideal for home use, classroom experiments, or small-scale prototyping.
Read more: Potato Starch Bioplastic: Pros and Cons You Should Know
3. How to Make Bioplastic from Potato Starch? Step-by-Step Guide
In this tutorial, we'll show you how to create plastic from potato starch and other household ingredients to turn it into a resin. You may just use cornstarch in place of potato starch if you don't want to the time making it. Below is the detailed potato starch bioplastic recipe:
.jpg)
Step 1: Prepare the Materials
- Gather key ingredients: potato starch, water, glycerol, vinegar.
- Ensure all materials are high-quality and contaminant-free.
Step 2: Extract the Starch
- Wash and peel a potato.
- Cut it into small blender-sized pieces.
- Blend with ~1 cup of water for 1–2 minutes.
- Strain the cloudy mixture using a coffee filter.
Optional: dry the starch for storage using wax paper in a bright place, or simply buy pre-made starch from a store for convenience.
Step 3: Mix Starch and Water
In a saucepan, mix together the potato starch and water until the potato starch is fully dissolved. The ratio of potato starch to water can vary depending on the desired properties of the final bioplastic, but a typical ratio is around 1:10 (i.e. 1 part potato starch to 10 parts water).
- Fill the beaker or other container with 60 ml (4 teaspoons) of cold water before heating the mixture.
- Add 10 grams (or roughly 1 tablespoon) of potato or corn starch - either homemade or purchased - to the water.
- Add the food coloring at this point if colorful plastic is required. Five drips should be plenty.
Step 4: Heat the Mixture
- Simmer the mixture on low, whisk frequently.
- Raise heat gradually to medium-high as it thickens.
- Boil for about 5 minutes until gooey and translucent.
- Pour onto foil or silicone mat to cool and dry.
Step 5: Add Glycerol and Vinegar
- After boiling, remove from heat.
- Stir in glycerol and vinegar (typical ratio: 2–3 parts glycerol, 1 part vinegar per 100 parts starch).
- Glycerol adds flexibility; vinegar acts as a preservative.
Step 6: Pour into Mold
- Pour mixture into molds or onto a flat surface.
- Let it cool and solidify (may take hours or days depending on humidity and temperature).
Step 7: Finalize the Bioplastic
- Once hardened, remove from mold.
- Trim or smooth edges as needed.
In short, making bioplastic from potato starch requires careful attention to detail and specialized equipment and expertise. The recipe and manufacturing process can be adjusted to achieve specific properties, such as flexibility, strength, or biodegradability, and the resulting bioplastic can be used in a variety of applications, such as packaging, food service products, and even medical devices. As demand for sustainable materials grows, more research and development will likely be devoted to improving the production and properties of bioplastics made from potato starch and other renewable resources.
4. Factors Affecting the Quality of Potato Bioplastic
4.1. Glycerin and Vinegar Ratio
The ratio of ingredients determines the flexibility or brittleness of the bioplastic.
- More glycerin → soft, flexible, less breakable plastic
- Less or no glycerin → brittle, easy to break
- Too much vinegar → strong sour smell and slower drying
You can test in small batches to adjust the ratio depending on the purpose: for wrapping films, molding, or decorative materials.
4.2. Cooking Temperature and Time
If the mixture is not heated enough or stirred unevenly, the bioplastic may clump or lack a consistent structure.
Note: The ideal temperature is around 70–80°C, stirring constantly for 10–15 minutes.
4.3. Drying Method
Air drying helps preserve the natural softness and color of the plastic. However, if you need faster results, you can oven-dry at 50°C (on parchment paper) for 1–2 hours.
5. Practical Applications of Potato Bioplastic
Even as a DIY project, potato bioplastic has a variety of real-world uses:
5.1. STEM Education
Many schools in Europe, Japan, and the U.S. have included bioplastic-making in their STEM curricula. It helps students understand biopolymers while sharpening observation and analysis skills.
5.2. Handmade Packaging
- Wrapping fruit or handmade pastries
- Small gift bags
- Short-term food liners
Though not as durable as industrial plastic, it is perfectly sufficient for items that don’t require long-term storage.
5.3. Eco-Art & Design Projects
Many eco-conscious artists and designers use potato bioplastic to create:
- Decorative lamps
- Handmade pendants
- Concept packaging for sustainable branding
6. Notes on Storage and Use
- Not waterproof: softens or dissolves with prolonged water exposure
- Limited shelf life: lasts 2–3 weeks in dry conditions
- Not for oily or wet food: may degrade faster
👉 You should use potato bioplastic for temporary, experimental, educational, or eco-awareness purposes.

7. Conclusion: Small but Mighty – A Lesson from the Kitchen
Making potato bioplastic by hand is a simple way to explore sustainable science at home. You don’t need to be a scientist to contribute to environmental protection or to inspire the next generation to live green – starting with something as familiar as a potato.
Try it today and share your results with friends. Anyone can be a change-maker – starting right from their kitchen.