How does in mold labeling work? When it comes to in-mold labeling, there are several options. We will examine the top three IML - creating techniques in this post. They are injection molding, blow molding, and thermoforming. These three approaches are all successful. The labeling process is the only thing that differs.
4.1. In mold labeling injection molding

Injection molding is the procedure that is used the most often in the in mold labeling process. Although the injection molding process seems straightforward on the surface, there are several variables that must be closely regulated to guarantee the overall quality of the plastic components produced. It will be easier for manufacturers to find plastic component suppliers that can provide the quality and consistency they want if they have a thorough understanding of the process and its parameters.
The process of in mold labeling injection molding is as follows:
Step 1: Choosing the proper thermoplastic and mold
The correct thermoplastics and molds must be chosen or made before the process can start since these are what really manufacture and shape the final components. Indeed, producers must take into account how the thermoplastic and mold interact in order to make the best choice, since certain plastic types may not be appropriate for specific mold designs.
Step 2: Feeding and melting the thermoplastic
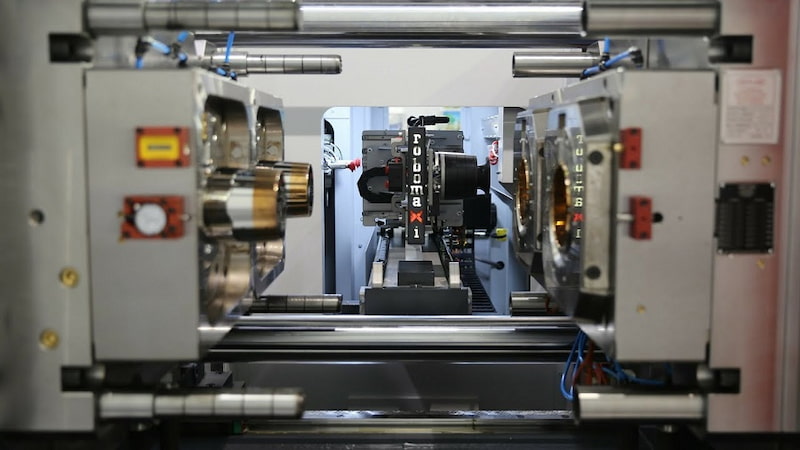
Electricity or hydraulics may both be used to power injection molding equipment. Raw thermoplastic pellets are put into the machine's hopper at the top to begin the process. These pellets are progressively fed into the machine's barrel while the screw rotates. The thermoplastic is progressively warmed and melted as a result of the screw spinning and barrel heat until it is molten.
Step 3: Injecting the plastic into the mold
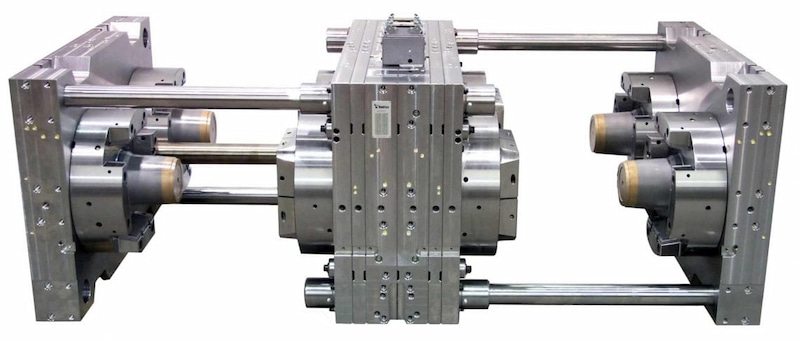
The gate, which manages the injection of plastic, shuts as soon as the molten plastic reaches the end of the barrel, and the screw advances. This pulls a predetermined volume of plastic through and prepares the screw for injection by building pressure within. Inside the mold is now placed an available label. The two components of the mold tool are held tightly together and under high pressure, or clamp pressure, at the same time.
To guarantee the component develops properly and that no plastic escapes the tool during the injection, injection pressure and clamp pressure need to be adjusted. The gate opens, the screw advances and the molten plastic is injected into the mold after the proper pressure is attained in the tool and screw.
Step 4: Holding and cooling
After most of the plastic has been injected into the mold, pressure is applied for a certain amount of time. This is known as "holding time," and depending on the kind of thermoplastic and the intricacy of the component, it may last anywhere from a few milliseconds to several minutes. This holding period is crucial for ensuring that the plastic forms properly and packs out the tool. After cooling, it conforms to the mold and bonds with the label placed.
Step 5: Finishing and ejection procedures
Pins or plates expel the pieces from the tool after the holding and cooling periods have elapsed and the part is substantially completed. These fall to the machine's bottom, where they land on a conveyor belt or in a compartment. The finished product will now be a finished plastic product with a label printed on it.
Post-labeling and other auxiliary operations are removed since the plastic mold labeling is completed during the molding cycle.
In-mold labeling method help boost efficiency and offers alternatives for durable product labeling. Because the plastic mold is labeled as it is being molded, post-labeling and other further steps are not required. The in mold labeling injection molding technique is widely used for computer keyboards, mobile phone keypads, and smaller plastic paint buckets.
4.2. In mold labeling blow molding

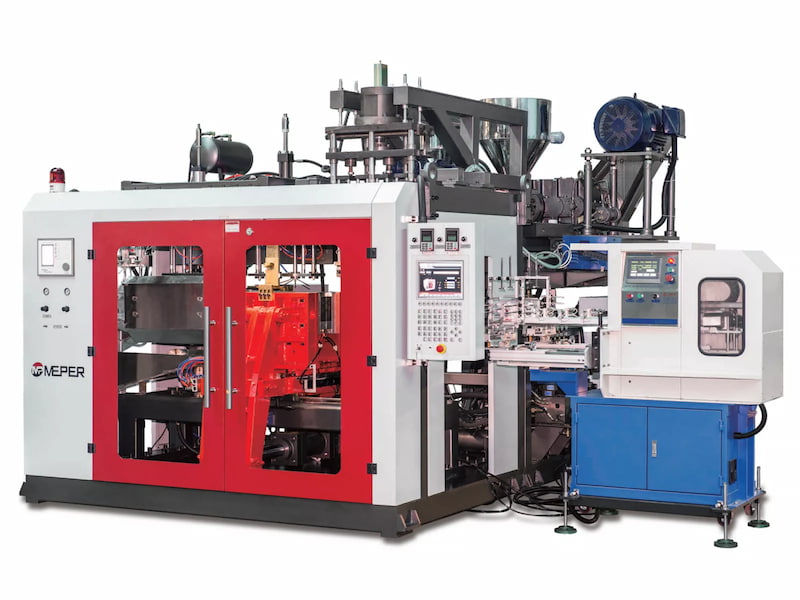
The second widely used technique for in-mold labeling is blow molding. In this procedure, the raw plastic material used in blow molding is formed into a parison, which is a hollow tube with one open end. Just like in-mold injection, the label for decoration is first fixed into the cavity wall of the mold. As the molded plastic cools, it fuses with the label inside the mold cavity.
There are three different blow molding processes:
Injection Blow Molding
A blow or core rod is utilized throughout the injection blow molding process. The split mold cavity around the rod is first filled with a parison. The resulting parison has a test-tube-like appearance. The blow mold machine receives the parison through the core rod, where compressed air produces the final form. The final product is then transferred to the rod, which extrudes it from the machine.
Extrusion Blow Molding
Continuous or sporadic extrusion blow molding is possible. Each form in continuous extrusion blow molding is chopped off with a blade as it develops from a parison that is continuously supplied into the mold. When the fresh plastic is cooled and put into the mold after the previous plastic has been ejected, intermittent extrusion blow molding extrudes each new plastic from the metal mold.
Extrusion blow molds may be created significantly more quickly and at a lower cost than injection blow molds in general. Smaller runs are suitable for extrusion blow molding. Advantages include reduced tooling costs and faster production times, while drawbacks often include less control over wall thickness and more waste material.
Injection Stretch Blow Molding
The methods of injection molding and blow molding are combined in injection stretch blow molding. To make a threaded bottleneck, the plastic is first formed into a solid performance.
A stretch blow mold machine receives the preform once it has cooled. After being pushed compressed air is pumped into a plastic bottle, and the performance is warmed using an infrared heater.
Hollow plastic pieces are mostly produced using this method. Glass bottles were created using this procedure. Plastic bottles are now made using this technique. Containers for liquids such as shampoo, dishwashing detergent, liquid soap, ketchup, sauces, etc. are made using this manufacturing technique.
4.3. In mold labeling thermoforming

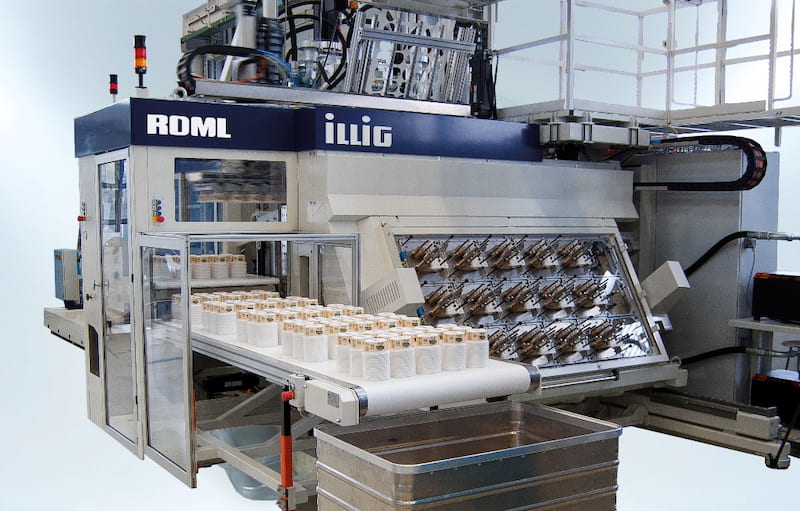
Thermoforming is a procedure that involves heating a sheet of thermoplastic until it reaches its point of softening. After the sheet has been stretched over a mold with a single side, the mold is adjusted. After that, it hardens into the appropriate form as it cools. Vacuum forming, pressure forming, and mechanical forming are the three most prevalent approaches that are used in order to mold the sheet into its desired final form.
Thermoforming is a process that has an almost infinite number of applications and may be used in a variety of business sectors.
Step 1: Shaping
Using a shaping tool, heated plastic sheets are thermoformed into a certain shape. In contrast to injection and blow molding, the plastic sheets are not entirely heated. Around a shaping tool, hot plastic sheets are stretched. After cooling and solidifying, the heated plastic sheets adopt the shape of the forming mold.
Step 2: Heating
A printed label is put into the mold before the heated plastic sheets are positioned all the way around the forming tool. The heated plastic sheets adhere to the printed label as they cool and solidify in the mold. This ends up producing a plastic item or product that is entirely adorned.
The majority of thermoformed products consist of rigid plastic packaging. It is necessary for the manufacturing of plastic cups. This method is also used to manufacture plastic cups, such as those used for holding ice cream and coffee. Thermoforming is also used in the production of plastic tubs that are utilized in the packing of ice cream. Thermoforming is a process that may be used to create a variety of different products, including blisters, trays, and lids. Thermoforming is used to create a variety of goods, including ones for the culinary, medical, and retail sectors.
5. In mold labeling troubleshooting

An overview of some of the most frequent problems with IML applications is provided below:
Resin selection
Some of the resins used to mold the component are easier to work with than others. For instance, because of their higher melt-point temperatures, nylon and polycarbonate resins provide difficulties. However, because of their lower melting points, polypropylene and polyethylene applications are considerably simpler to manage. Although IML decals are available for these applications, testing is essential before production.
Before the procedure begins, the resin to be used must be decided upon by the end user, the molder, and the decal provider. Building a prototype tool to evaluate the compatibility of the resin and IML may be useful in particular circumstances and depending on the size of the item.
Durability
Obtaining the proper level of chemical or environmental resistance, which also requires extensive testing, is a clear barrier for IML on the decorative side. For instance, floor graphics must be stepped on and gasoline cans used in motor racing need to be chemically resistant.
Equipment cleanliness
It should be noted that labels must be given to the molding station clean, starting with the label maker, and that dust and particle matter must be avoided at all costs throughout the IML process. Periodically, a degreasing solution should also be used to clean the mold surface where the label is situated.
Label construction
Labels for IML must be made from substrates, inks, and coatings that can stand up to the pressures and temperatures of the melt flow as well as receive and sustain a static charge. Because they won't be able to sustain a static charge effectively and because they may arc to the mold surface and cause pitting, labels with foil or metallic inks should be avoided.
Label over-molding
Molten plastic may flow below the label in electrostatic IML due to inadequate total label charge and insufficient pinning force. When the ionizing electrodes and suction cups are "competing" for the same spaces, over-molding may also happen. Manufacturers should create a patent-pending technique of pinnating the whole label surface, including the position of the suction cups holding the label, in order to reduce such issues.
Misaligned labels
Inadequate label magazine design or construction, or errors in the robot's label selection, may be to blame for misaligned labels. The precision of label insertion may be impacted by vibration on a lengthy stroke extension of a top- or side-entry robot or worn bearing surfaces. Inadequate charging of the label, when the label is forced out of place by the melt flow, may also result in misaligned labels.
In general, in mold labeling process is a standard method that is also cost-effective for the rapid production of labeled containers. Because the labeling can withstand wear and tear and is also waterproof, it is an excellent choice for labeling containers that are manufactured from mold.
And if you want to find a company that produces plastic materials for the in-mold labeling process, don't hesitate to contact us for the earliest advice and support.