Establishing a startup and shutdown protocol for your injection molding machine can be complicated. However, it's necessary for the workers' safety and equipment maintenance. Plus, proper protocols may result in time and money savings.
This article will lift this heavy job for you by providing a detailed guide on these two procedures to make your operation smooth. Scroll down for more!
Read more:
What is injection molding? How does it work?
Types Of Injection Molding Machines You Need To Know
1. Knowing Startup And Shutdown Protocols Is Important
 An injection molding machine requires a full plan of starting up and shutting down to ensure:
- Safety: Once the operators follow the procedures properly, they can reduce the risk of unwanted labor accidents. Plus, a well-trained staff will know how to use the protocols in case of quick shutdown emergencies to protect himself and the equipment.
- Longer equipment service life: In order to prolong the service life of machine components, proper starting and shutdown processes can reduce wear and tear. Plus, machine damage is decreased by proper cooling and cleaning, which also avoids thermal stress and material accumulation.
- Operational performance: Appropriate startup and shutdown procedures increase output by reducing downtime and guaranteeing steady operation. In turn, it results in better-quality components and fewer flaws.
- Cost efficiency: By setting up proper protocols for an injection molding machine, businesses can reduce repair and replacement costs. Once the machine works properly, it also lessens energy consumption, leading to cost savings.
2. How To Properly Startup An Injection Molding Machine
First of all, always prioritize safety when operating an injection molding machine by carefully checking all power, hydraulic, water, and oil lines to make sure they are connected and routed correctly. To lower the risk of accidents, make sure safety guards are set up and employees are outfitted with the proper personal protective equipment. Since the equipment produces tremendous pressures and temperatures, this step is very crucial.
- Switch the machine's and the controller's main power on
Before starting to switch on the power, you need to:
- Inspect safety features such as nozzle shields and doors.
- Verify that the injection unit is free to slide.
- Locate the materials required for the mold run.
- Clarify the mold availability
- Ensure that the right color and resin are available.
After turning it on, wait for the computer to power up.
You can prepare a new mold or use the old mold. Before starting, adjust the barrel temperature if needed, or just follow the saved program. Then, turn on the heat and hang the molds.
During the process, remember to:
- Inspect hose routing and water fittings for leaks and tightness.
- Verify the smoothness of the mold and clamp - motions.
- Give mold protection priority to prevent costly crashes.
- Adjust mold protection and clamp tonnage appropriately.

- Resin filling and setting up
In this step, you should verify that the resin is clear of contaminants and particles, then give the barrel enough time to heat up and soak. After that, lower the hold pressure and press the inject button on the injection molding machine.
You need to ensure that the screw rotation operates noiselessly and smoothly and troubleshoot the problem if the screw isn't turning smoothly. The last step is loading the resin, purging it, and building a short.
Before starting, make sure the shorts eject or stay in the mold. If the mold has trouble, you need to confirm if all ejectable components are present. If there are issues with first-part ejection, use mold release.
You also should test the part-removal automation from semi-automatic to fully automatic. Here are things you should verify during the process:
- pressure and fill time at the transfer
- screw rotation time, cushion, and cycle time
As soon as the component temperature stops rising and the pressure at the transfer stops trending, take the parts to QC for inspection.
Read more:
Types Of Plastic Fitted For Vertical Injection Molding Machine
Injection molding color mixing problems and solutions
3. The Best Ways To Properly Shutdown An Injection Molding Machine
Proper shutting down protocols can make starting an injection molding machine even easier and prevent unwanted issues.
To stop the screw and avoid damaging the screw and barrel, close the hopper sliding gate, halt the flow of material, and lower the screw speed to 15-20 rpm. When less polymer is coming out of the die or mold, stop the screw from rotating.
It is essential to lightly treat the core and cavity of a mold with a rust-preventive formulation while the mold and machine are cooling. This step is particularly crucial in situations that are connected to chillers or have high humidity levels.
Purge the machine after shutdown by clearing the barrel and screw unit to avoid unnecessary resin from hardening and clogging during starting.

After the mold is cooled to room temperature, it will be taken to the mold shop. Now, it's time to remove the mold from its rust protective coating safely.
Apply a mold cleaner to the center and top of the mold cavity, allowing solvents to run down the face of the mold to clean it. It will help break down rust barriers and other impurities. Use an abrasive mold polish to remove any residual resin, gas, or color stains from the mold.
- Protect molds during storage
After eliminating impurities, coat the mold cavity, platens, and base with rust preventative to safeguard the molds while they are being stored. The length of storage determines the appropriate formulation.
- Short term: When manufacturing reoccurs, mold removal and cleanup will be made easier using a "dry" rust prevention formulation.
- Long-term: When the storage time of an injection molding machine is at least a year, use a strong rust-preventative formulation and cover the mold cavity, core, and base fully.
4. Conclusion
Starting up and shutting down an injection molding machine needs to be done according to proper protocols to ensure safety, equipment longevity, product quality, and operational efficiency. It's always better to carefully train the operators and conduct regular reviews to understand the current state of the machine. Plus, manufacturers should have a clear plan for emergency situations.
5. About EuroPlas
Besides ensuring a proper working procedure, businesses should look for material suitable for their injection molding machine. With almost 20 years of experience, EuroPlas has confidence in its products.

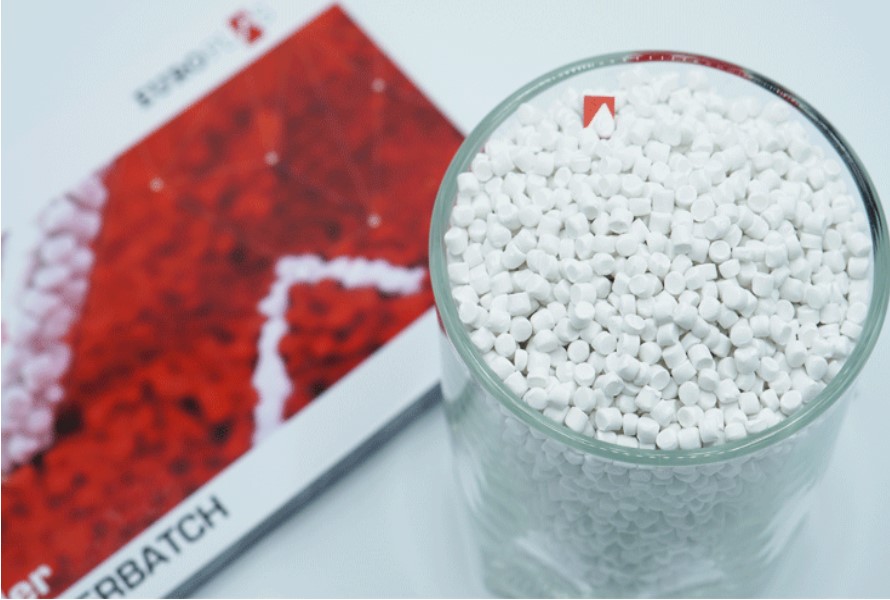
We offer top-notch quality Filler masterbatch and Biofiller that can help our clients save production costs without sacrificing quality.
Contact us now for more details!